The main window is organized into a handful of focused tabs — one per workflow. Pick a tab, pick a table, get Braille.
Tabs
The main window has four tabs, each for a specific workflow.
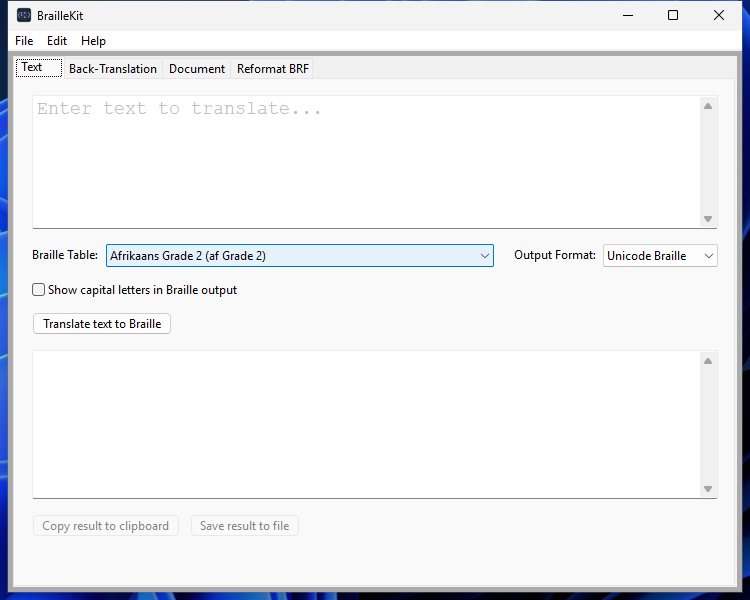
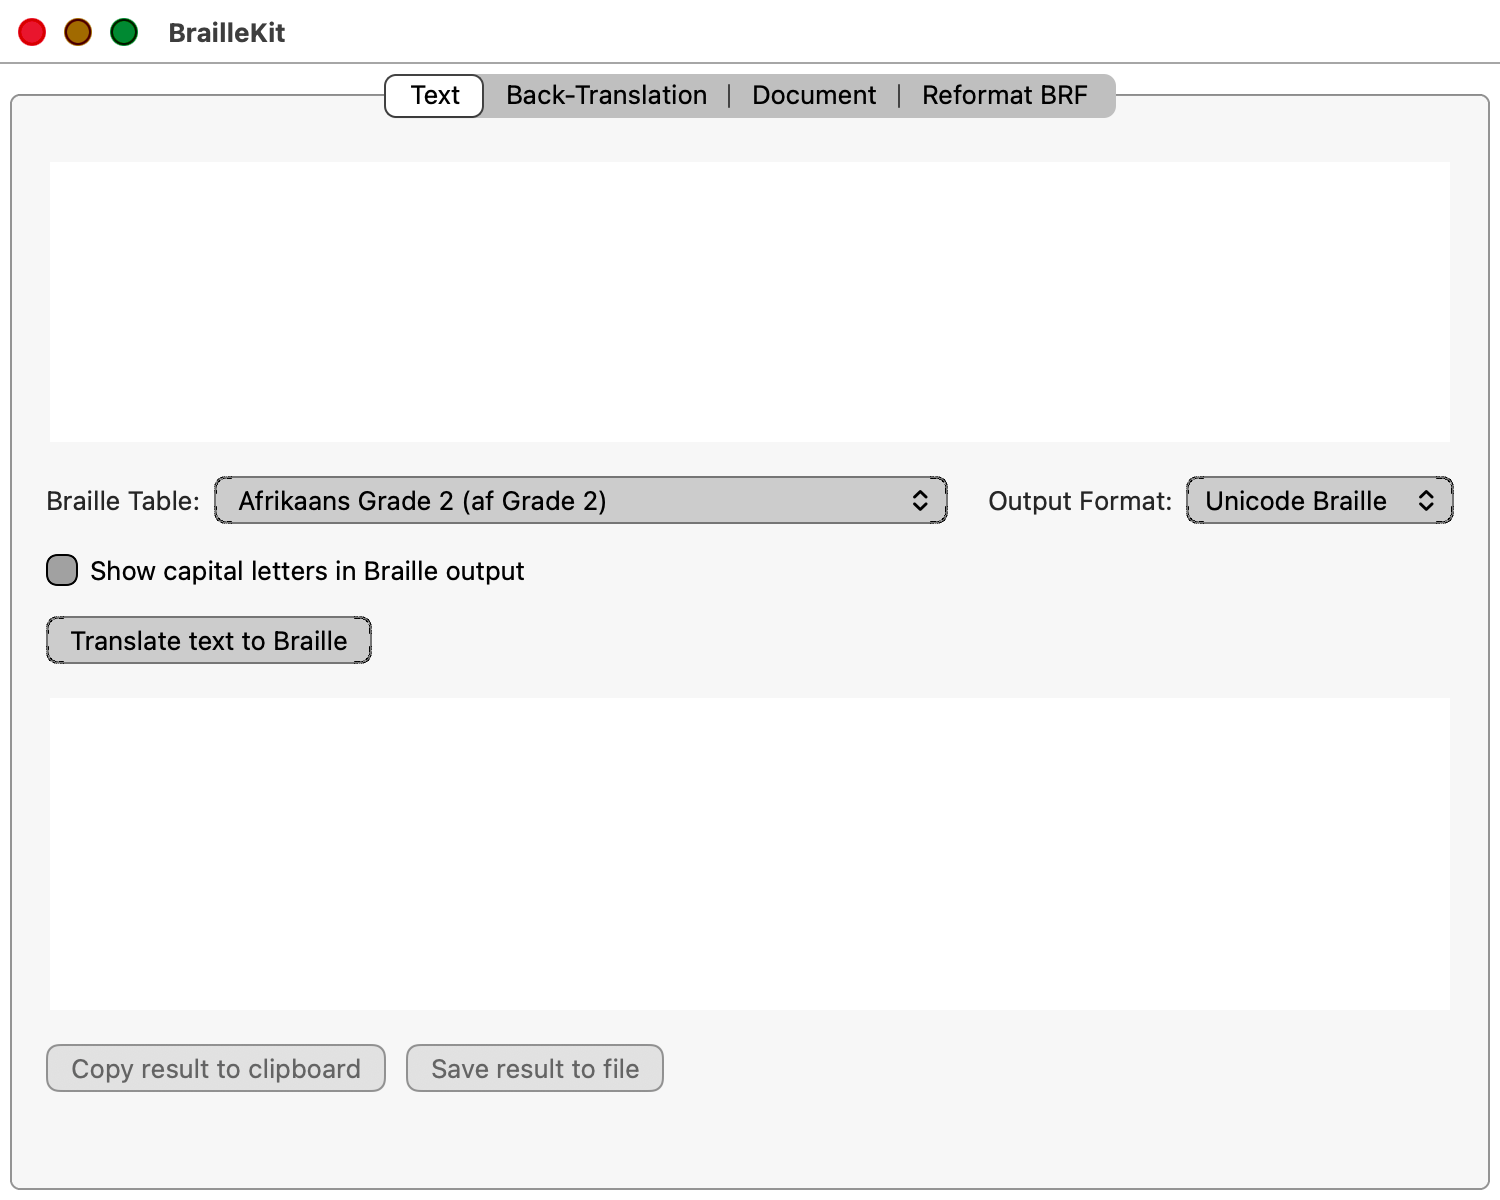
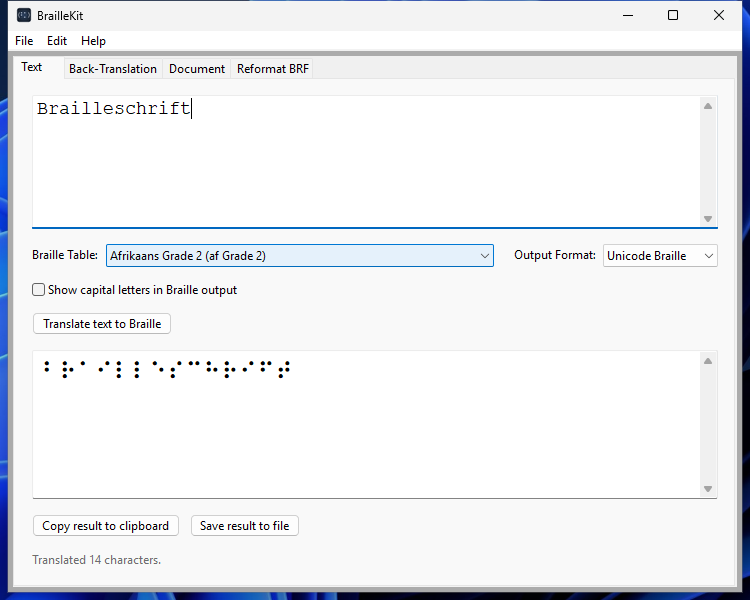
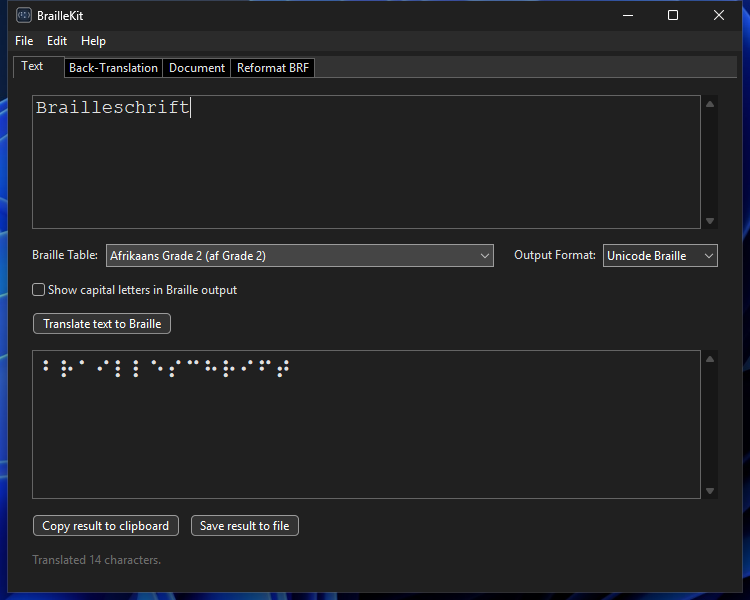
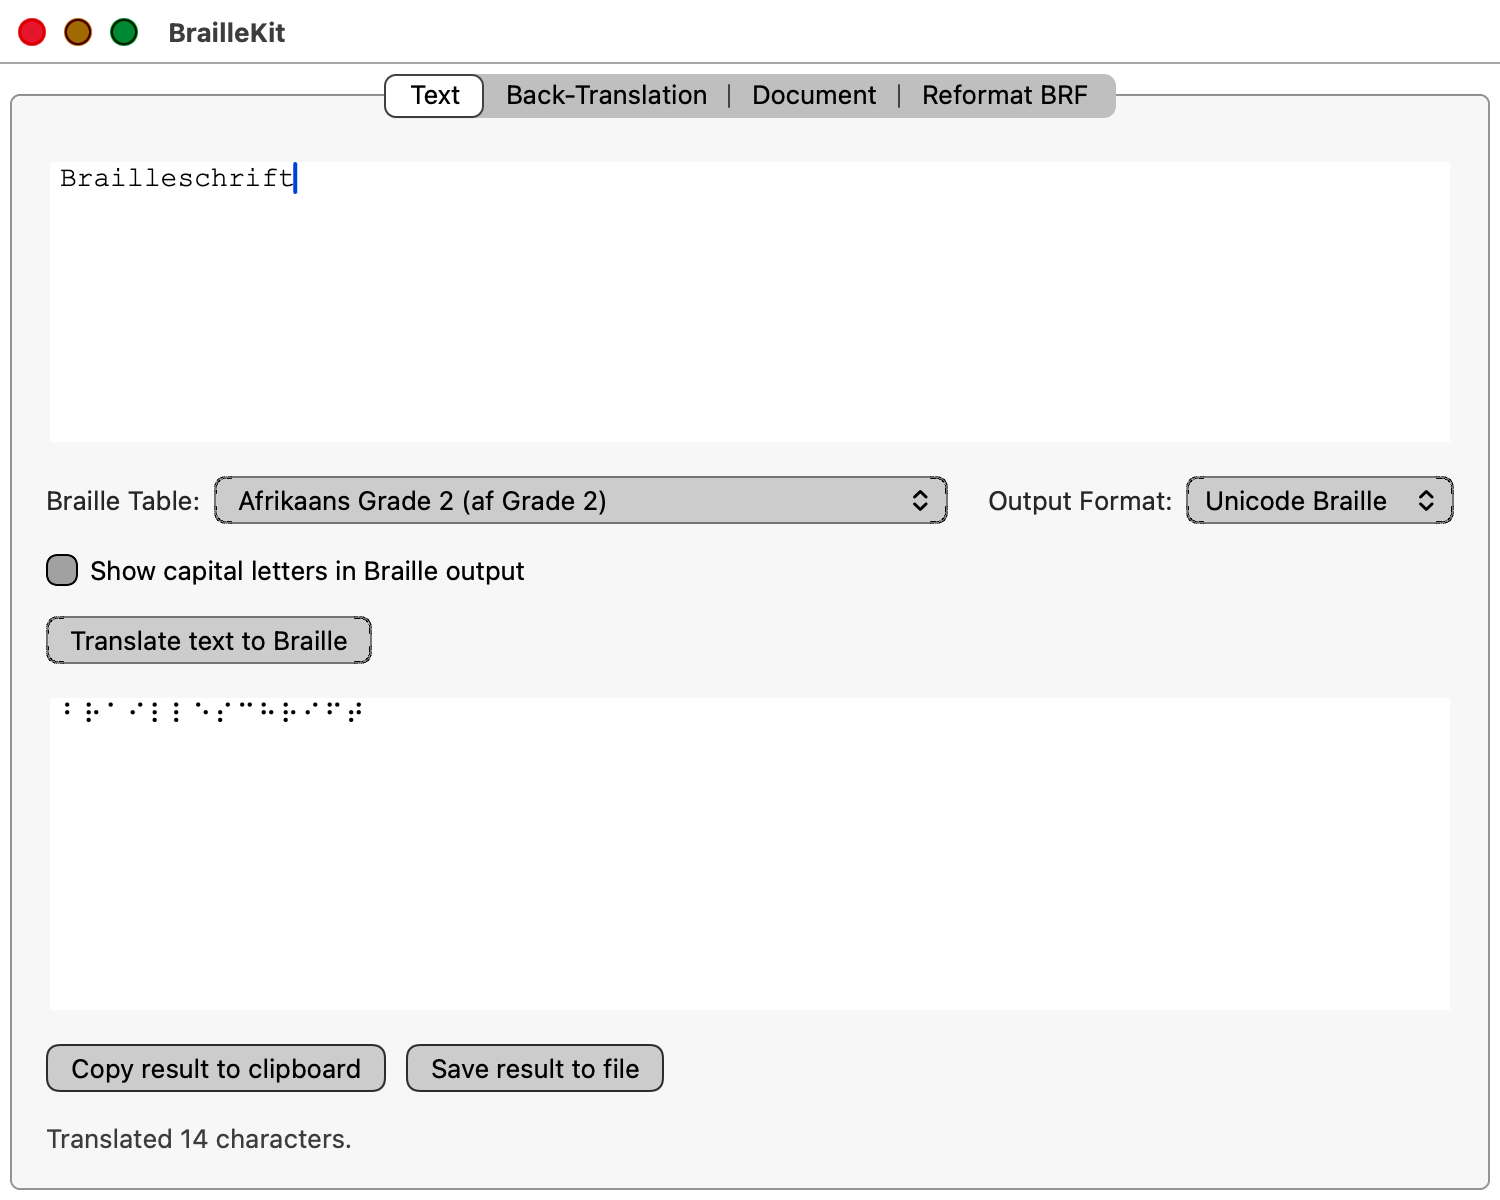
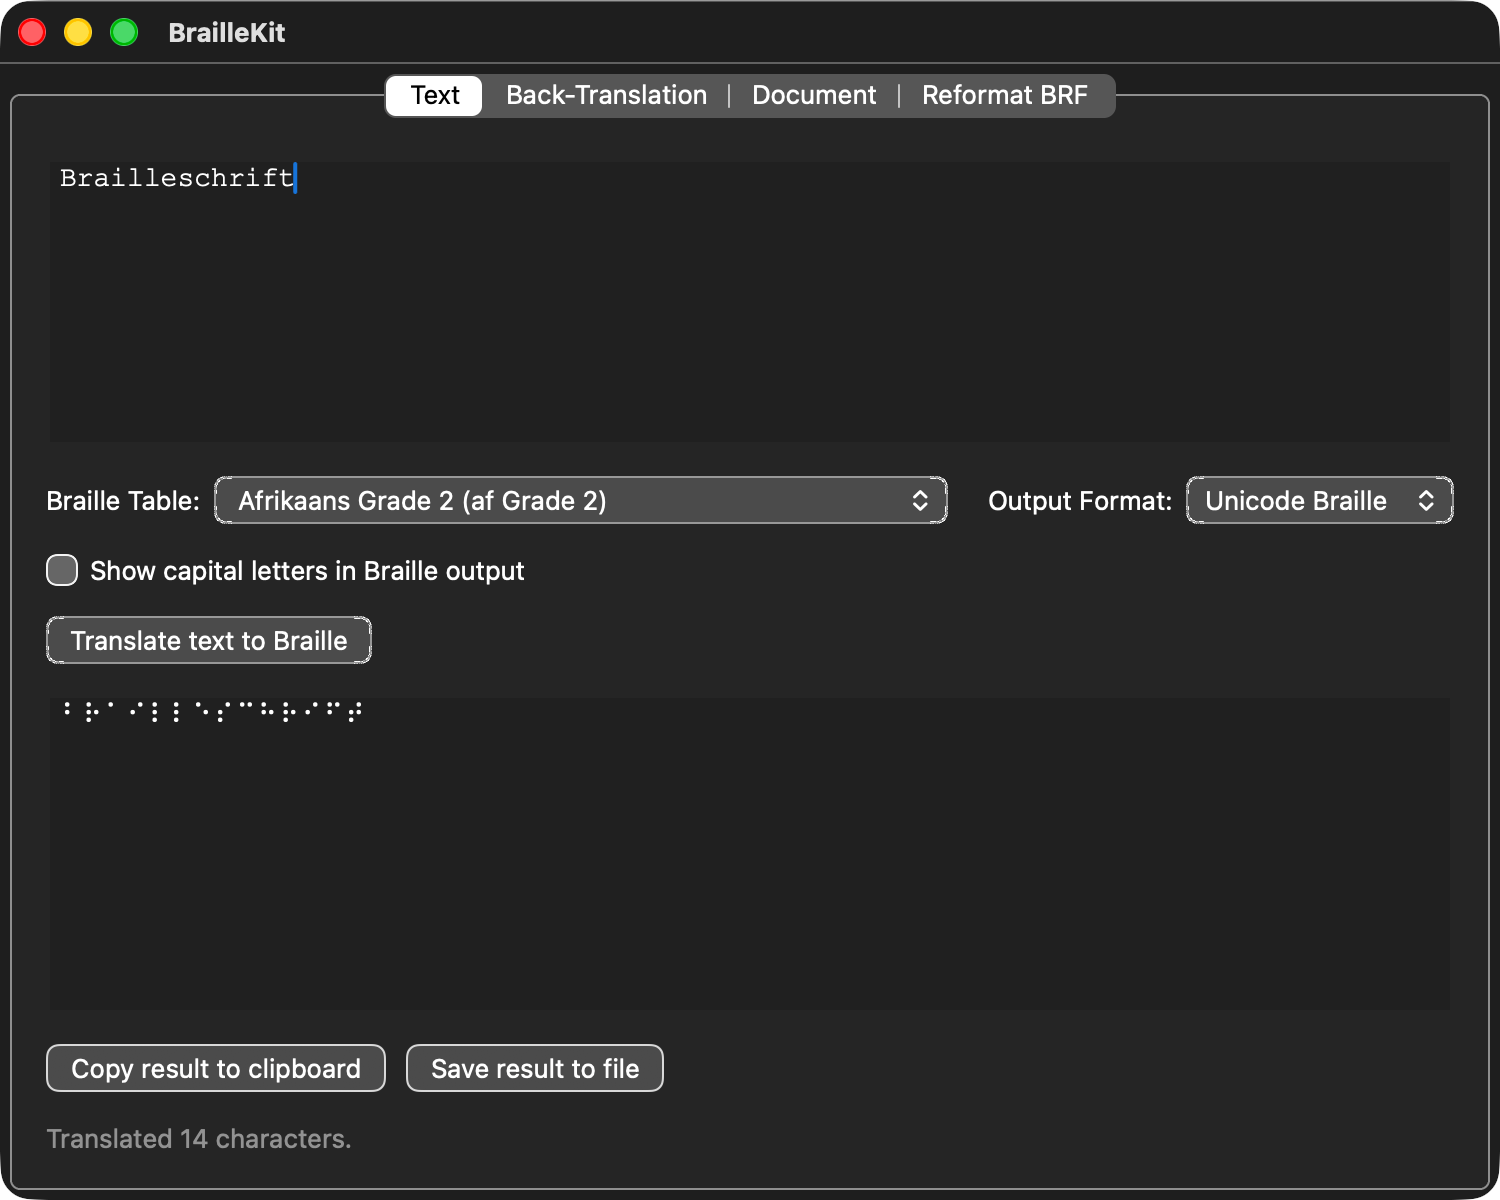
Text tab
Type or paste text in the left panel, pick a table, and the Braille output appears on the right. Updates live as you type. Useful for quick lookups and short messages.
The Preset row above the capitalisation checkbox stores named combinations of (table, output format, capitalisation) so you can switch between common setups without re-picking each control. Saving a preset is a Pro feature; loading and removing existing presets stays available on every tier.
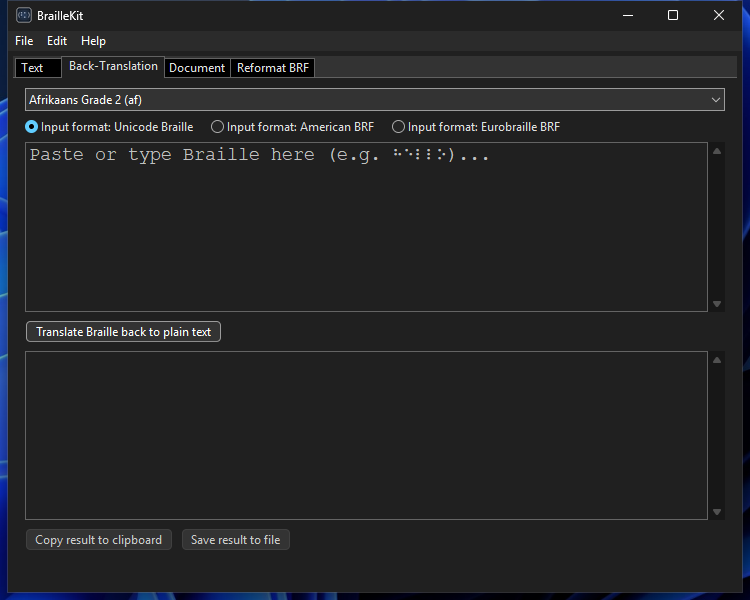
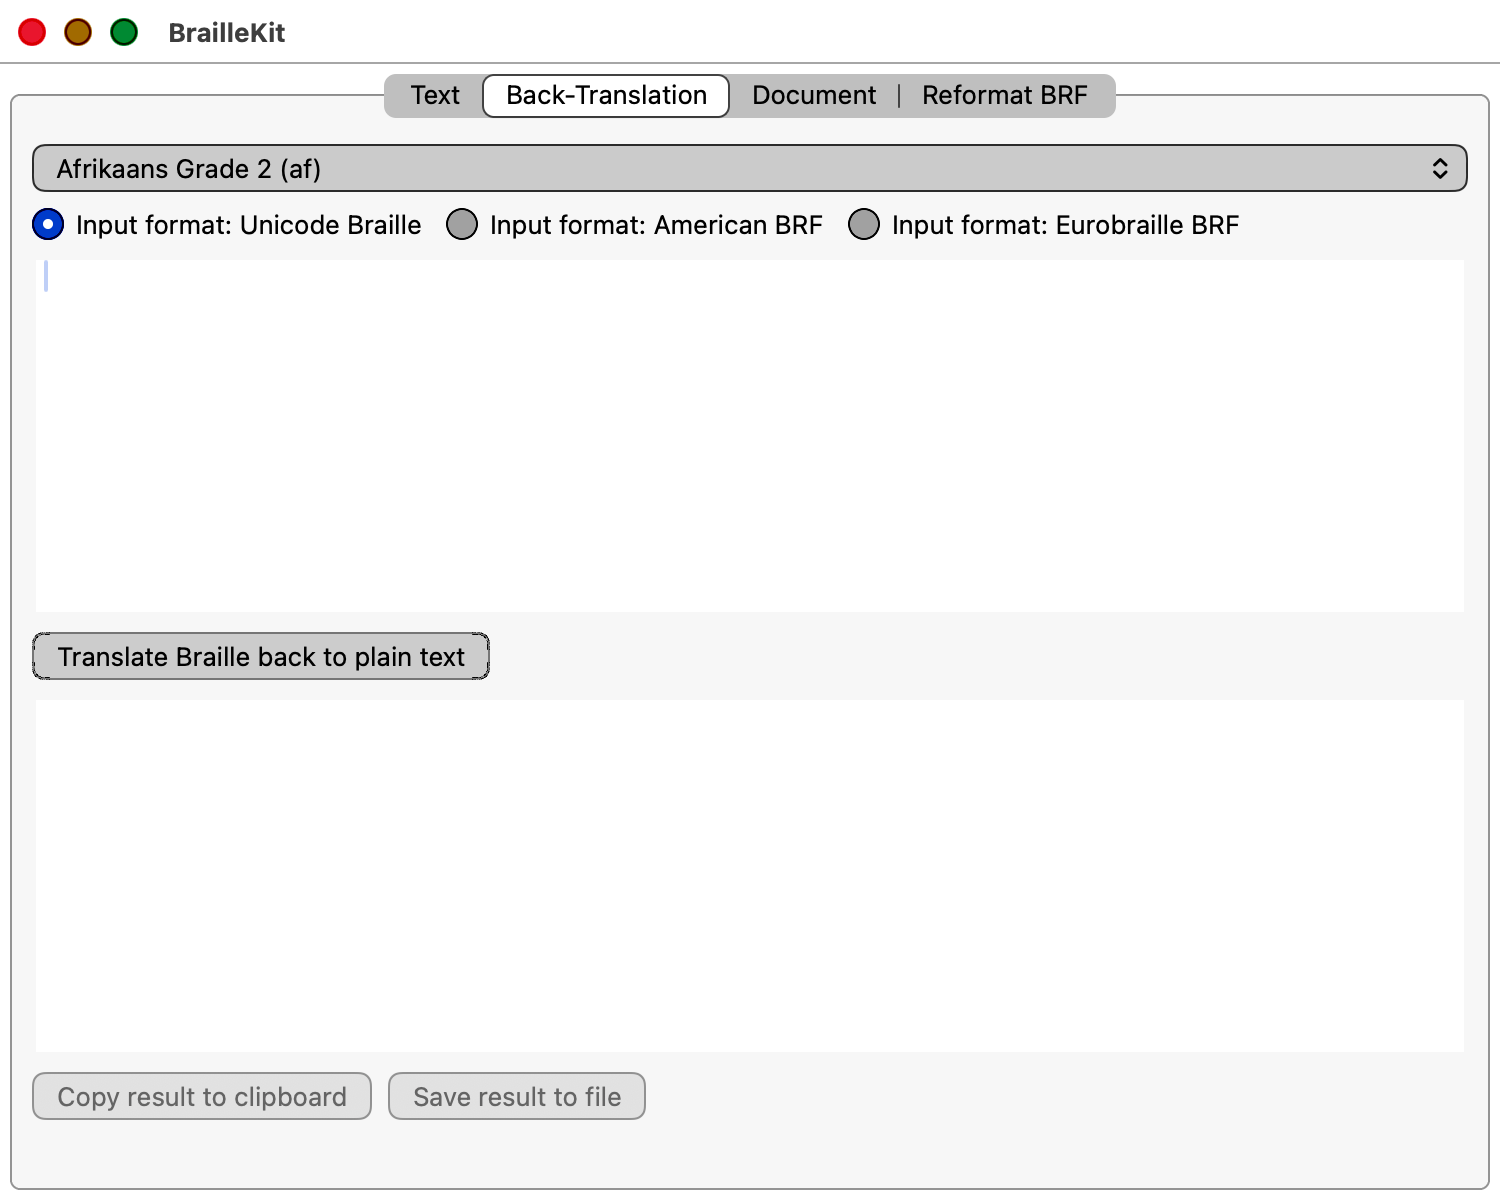
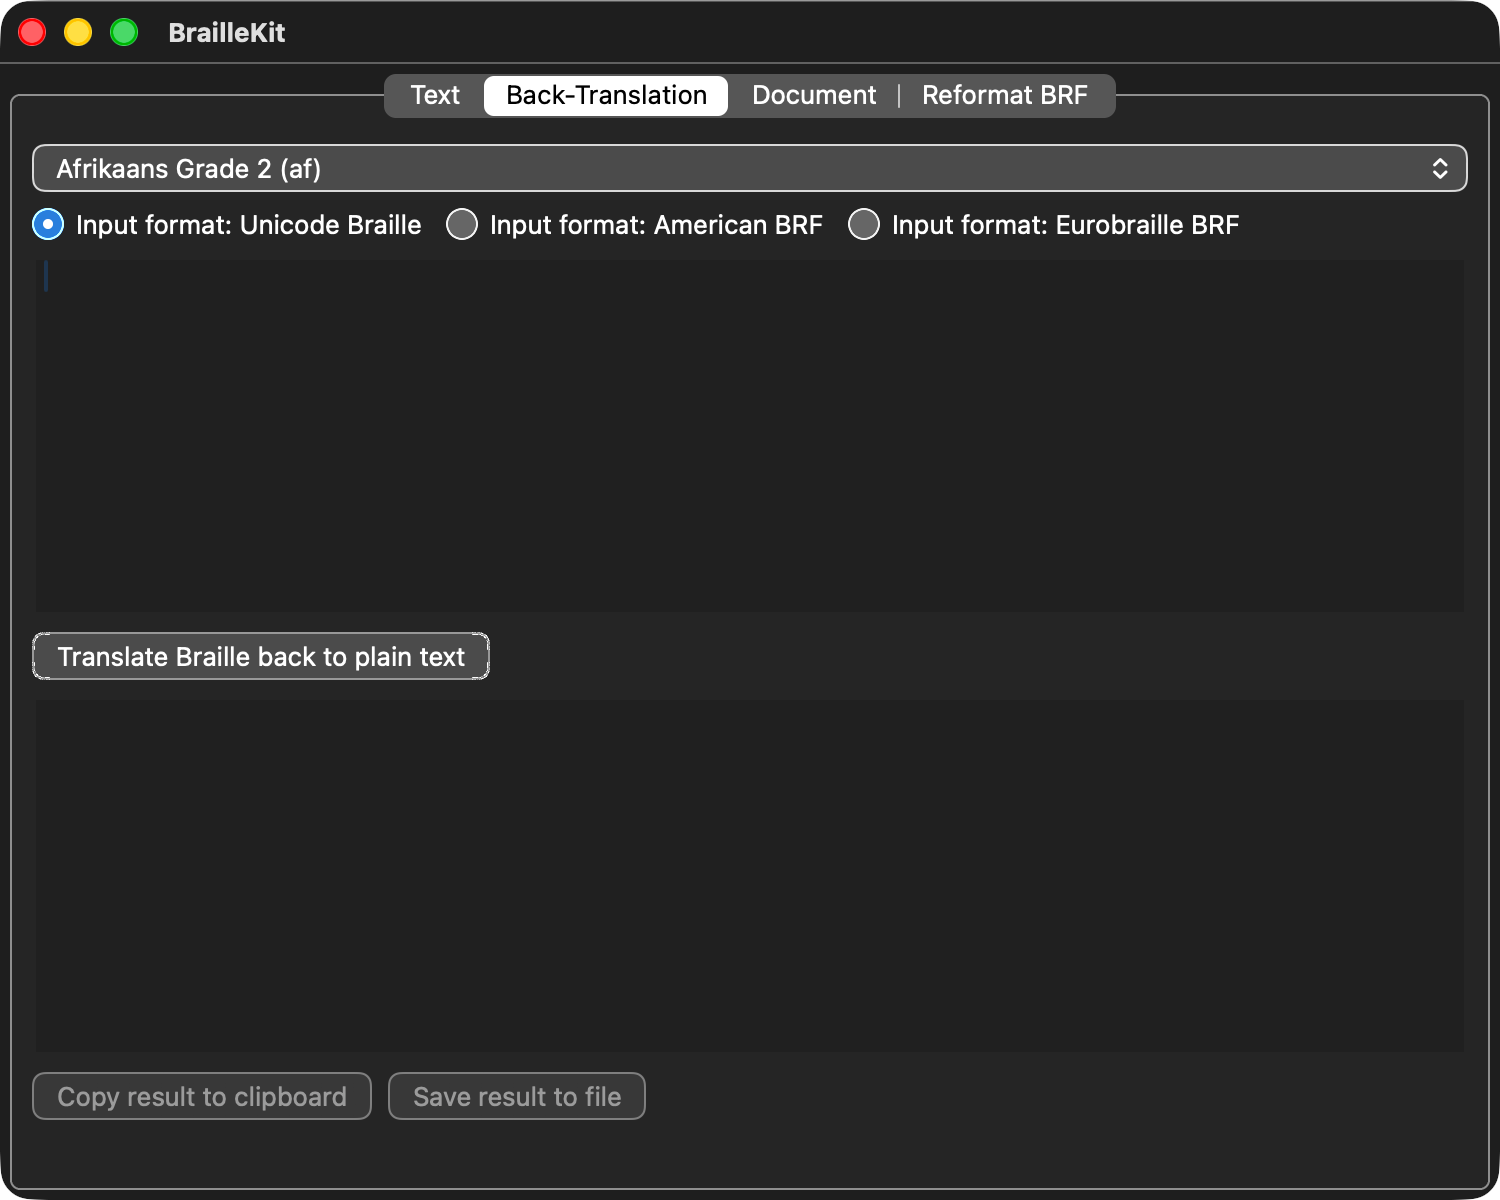
Back-translation tab
Reverse direction: Braille input → text output. Pick the table that matches how the source was produced, then select the input format:
| Input format | When to use |
|---|---|
| Unicode | Paste ⠓⠑⠇⠇⠕ characters directly |
| BRF (American) | File from a North American source or embosser |
| BRF (Eurobraille) | File from a European (DZB/Eurobraille) embosser |
If you are not sure which format a file uses, try
braillekit_cli detect <file> first.

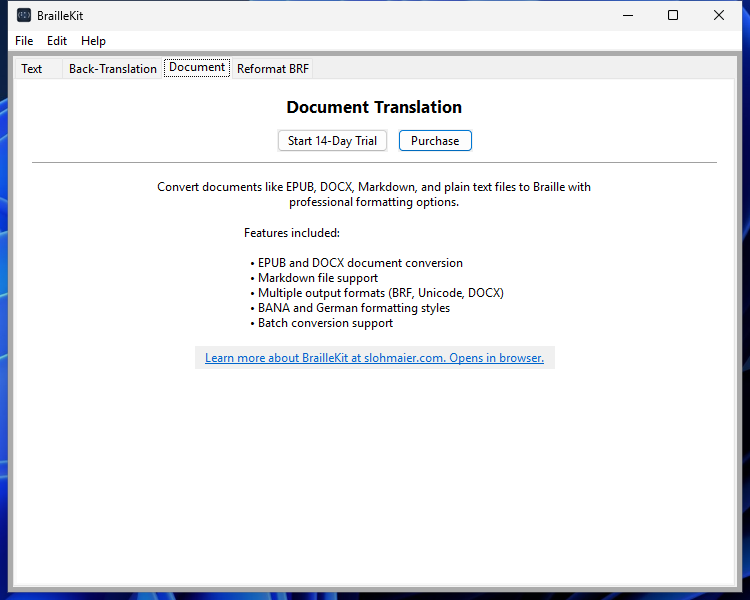
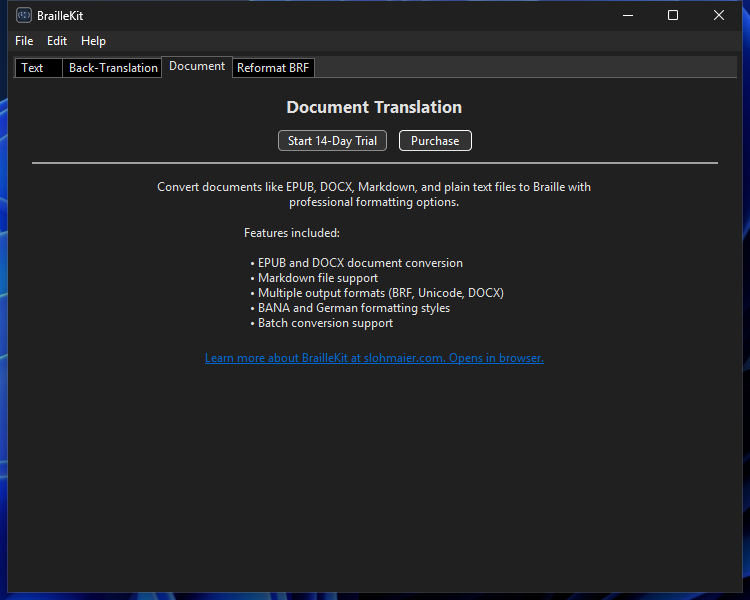
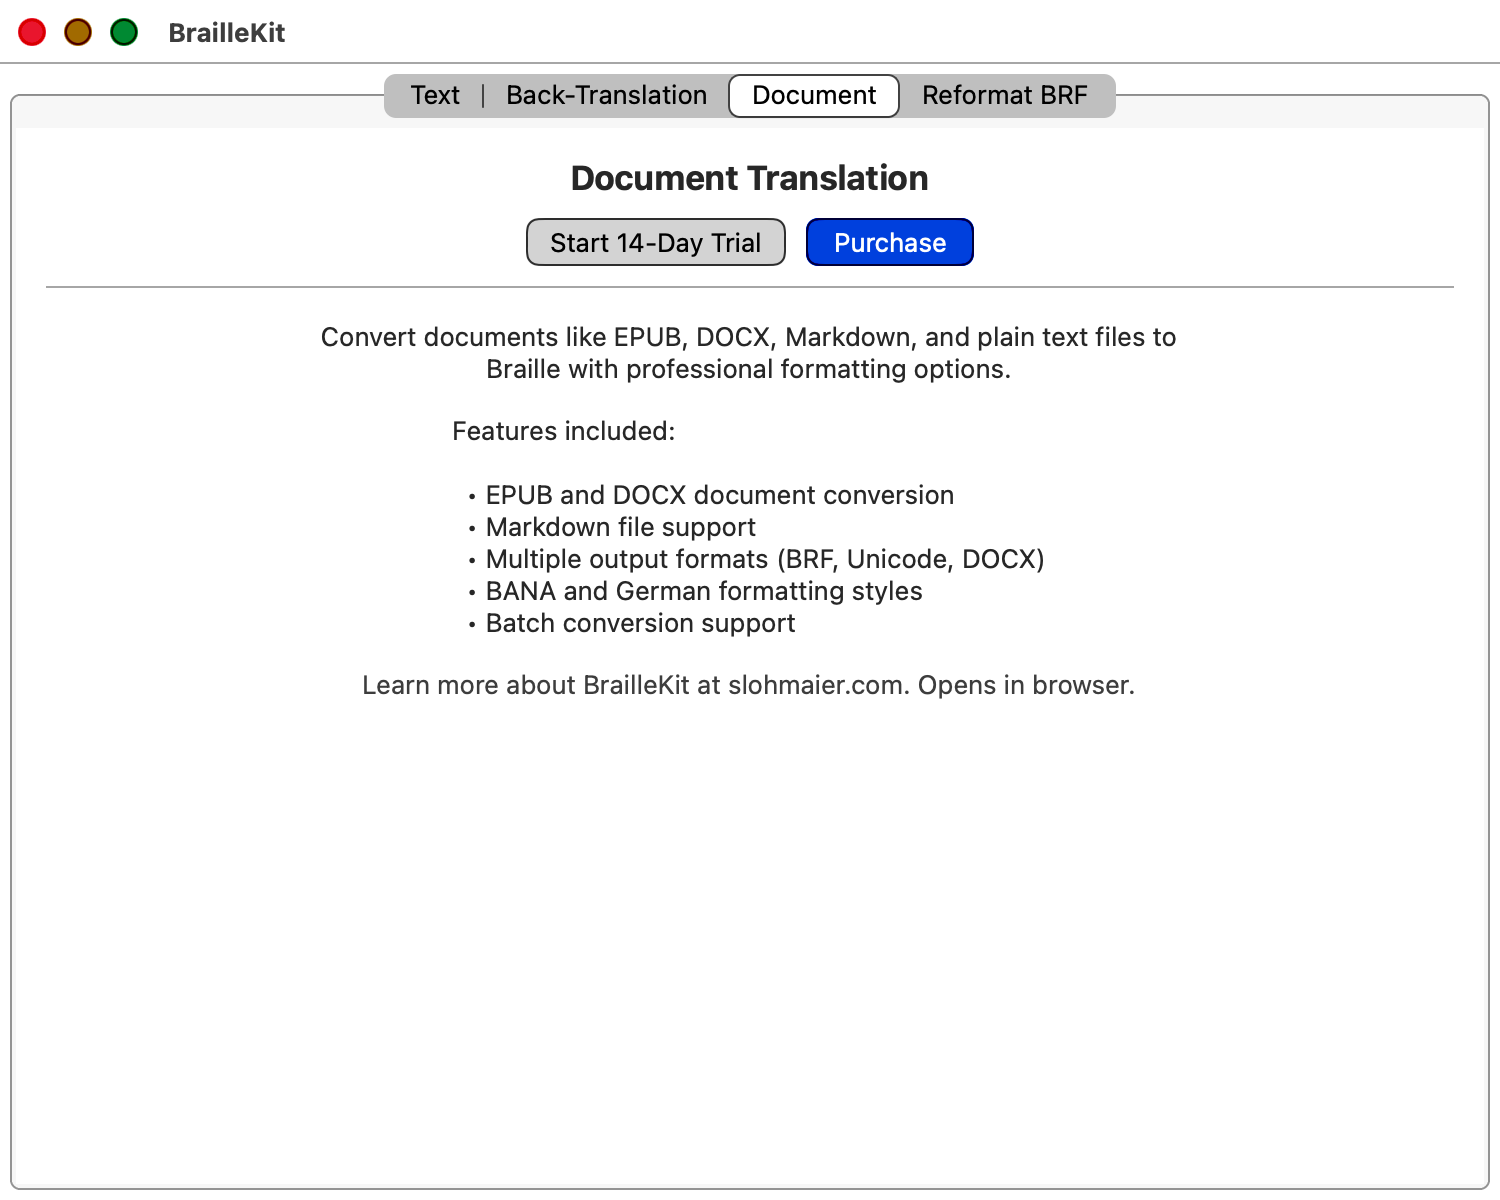
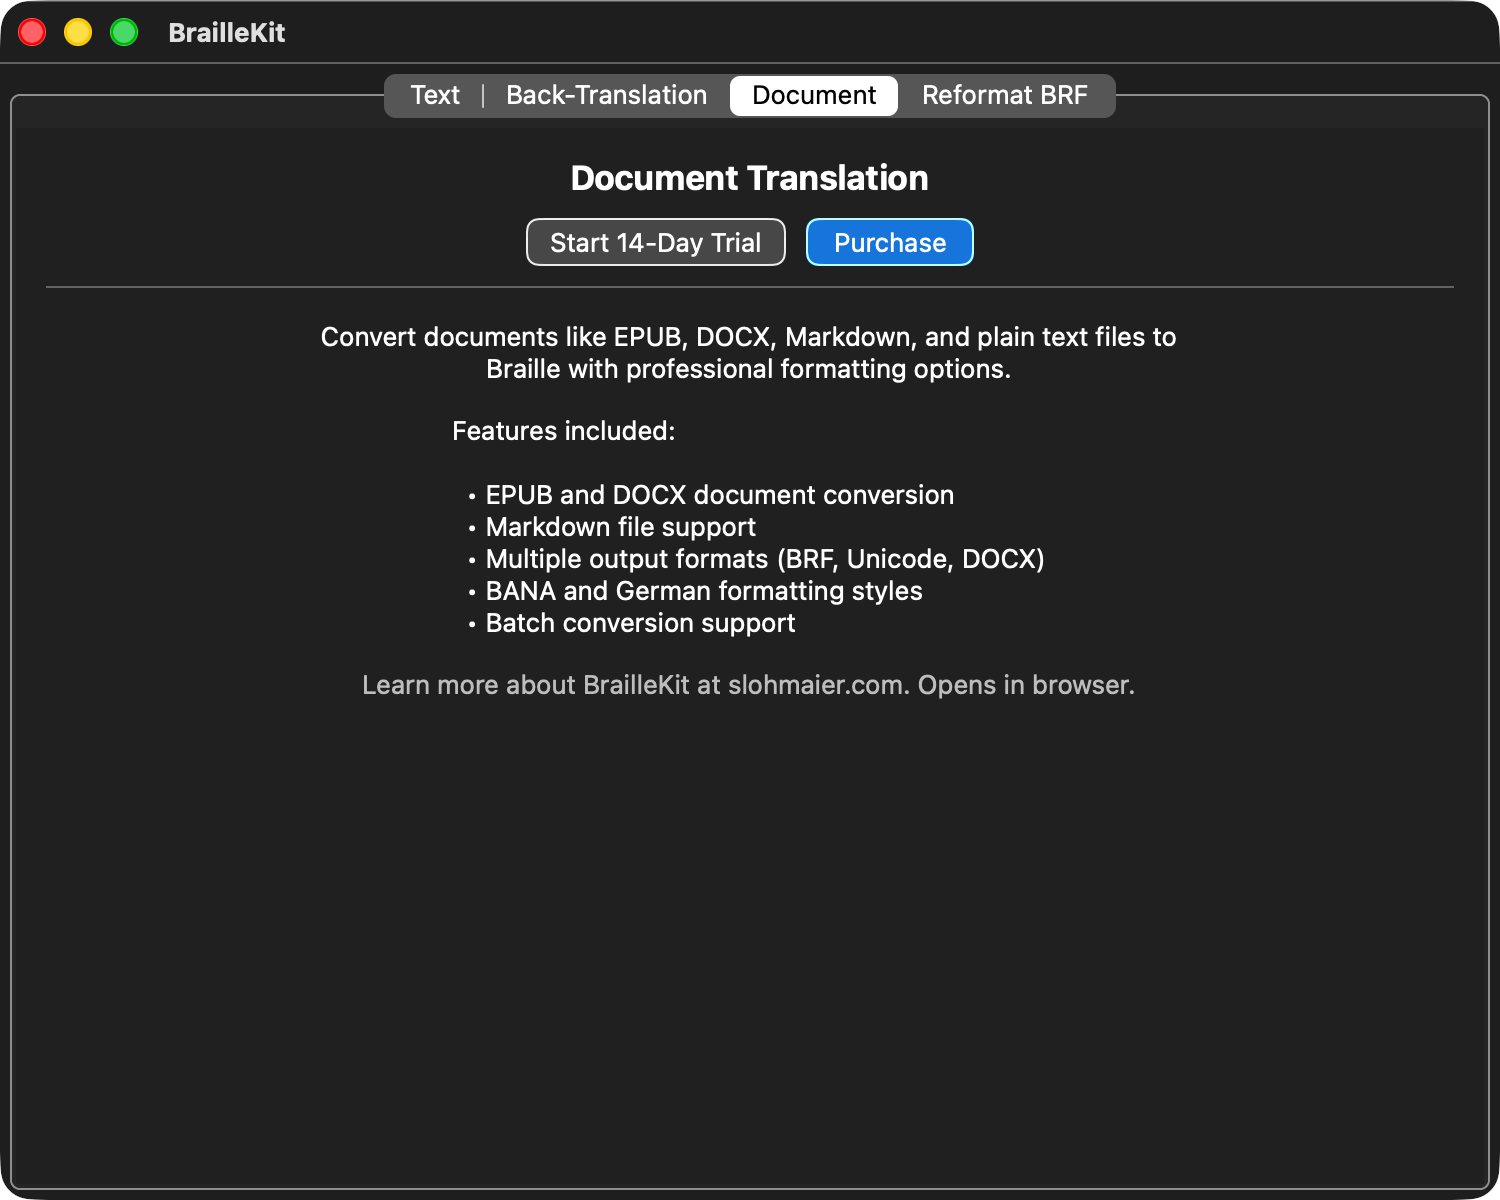
Document tab
Drag-and-drop a document (or use File → Open, Ctrl+O) to
translate an entire file. Output can be exported as:
- Unicode Braille
.txt - BRF (plain ASCII Braille for embossers)
- eBraille
.ebrl(accessible Braille e-book format)
Batch mode: drop multiple files — they'll be processed in sequence.
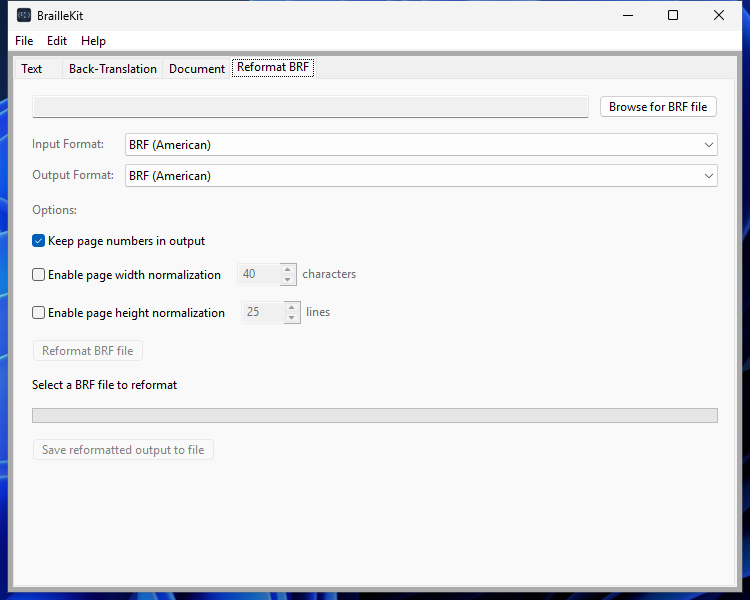
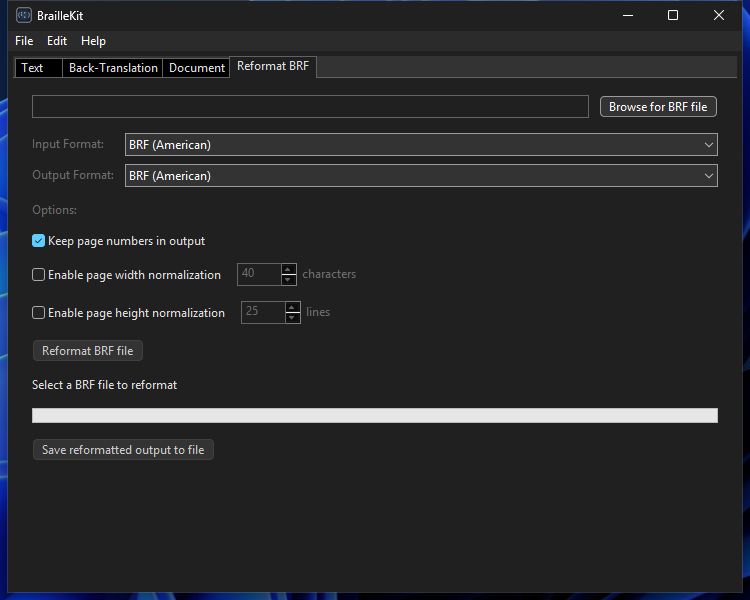
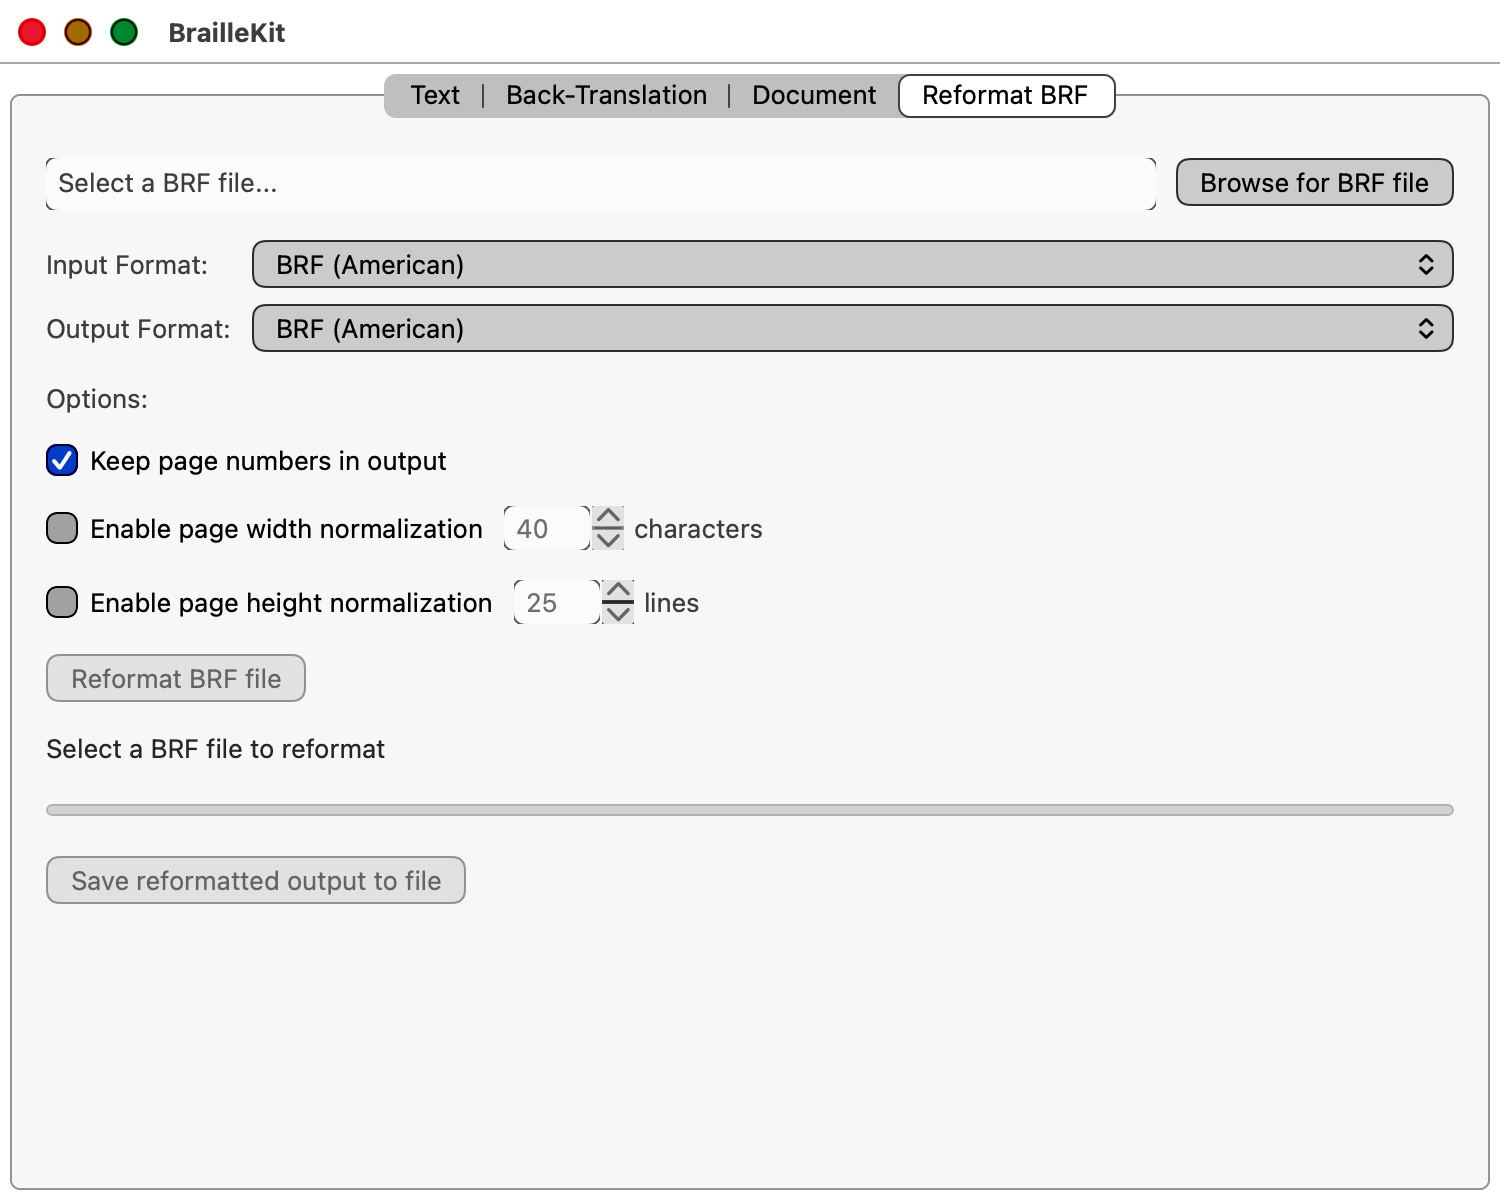
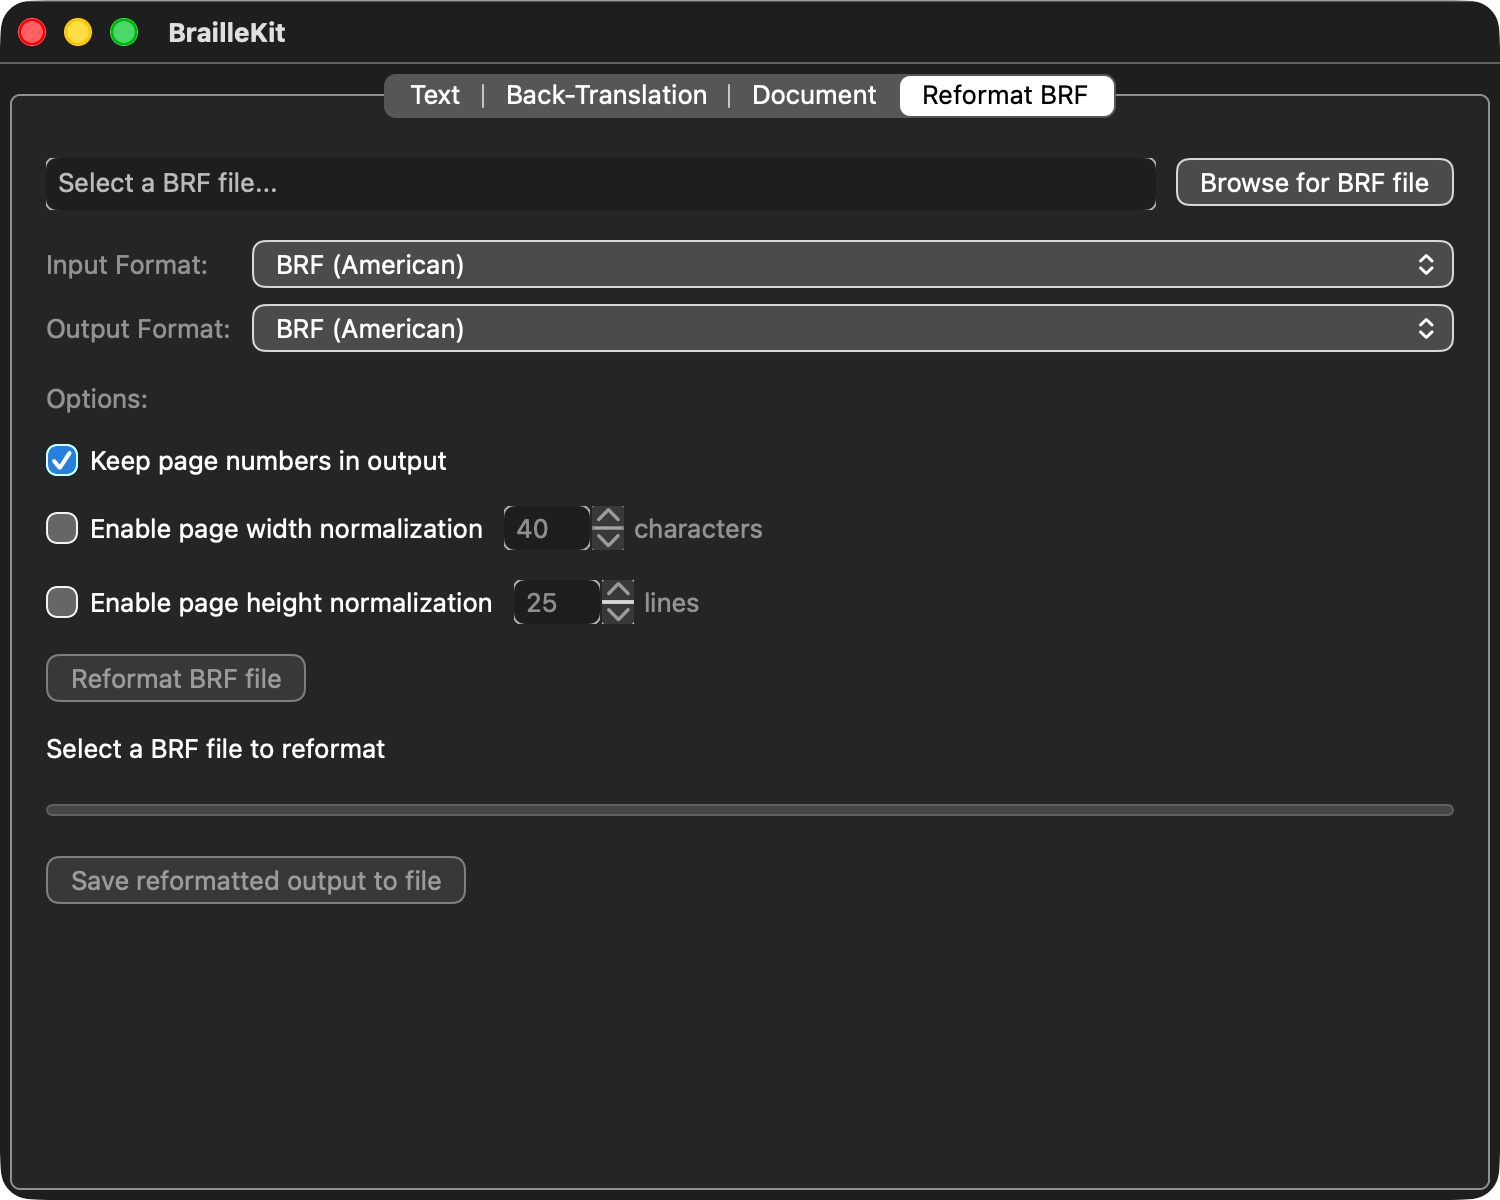
Reformat tab
Re-wrap, re-paginate, or convert existing BRF files without changing the Braille itself — handy for turning a single long line into a 40-cell-per-line embosser-ready document, or converting between BRF dialects (US vs. German DZB vs. iOS).
Embosser profiles capture all seven reformat settings (input format, output format, keep-page-numbers, width / height normalisation, target cells per line, target lines per page) under a chosen name so you can switch between hardware-specific setups in one click. Saving a profile and batch-converting multiple files at once are Pro features; single-file reformat works on every tier.
Preferences
Global preferences: theme (light/dark/system), default table, logging
level, accessibility options. Reachable as a modal dialog via the
platform-standard shortcut — Edit → Preferences on Windows
(Ctrl+,) or BrailleKit → Settings… on macOS (Cmd+,).
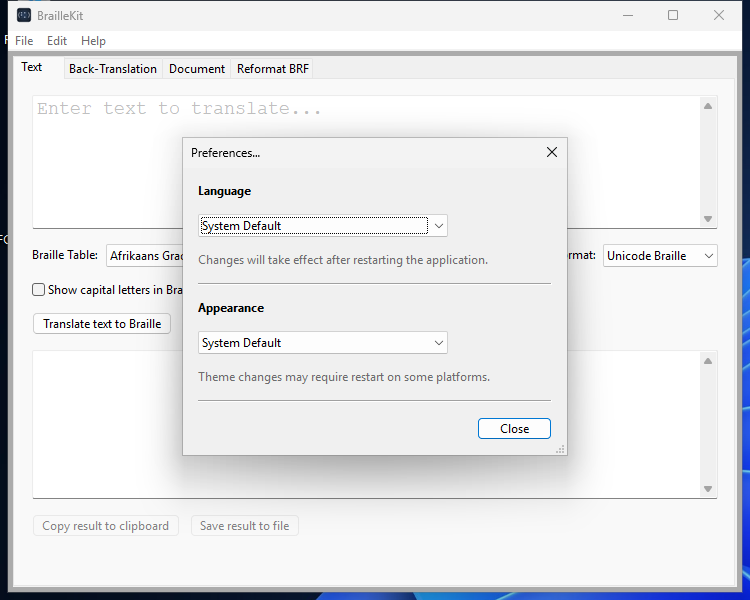
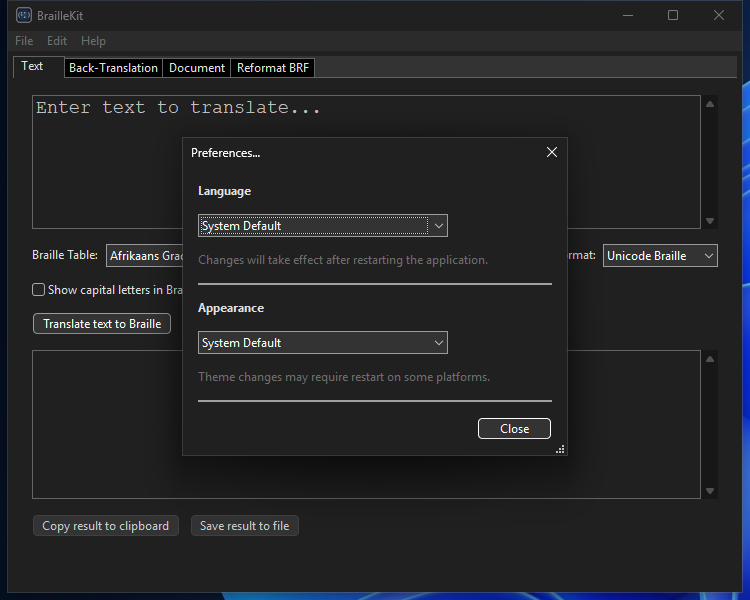
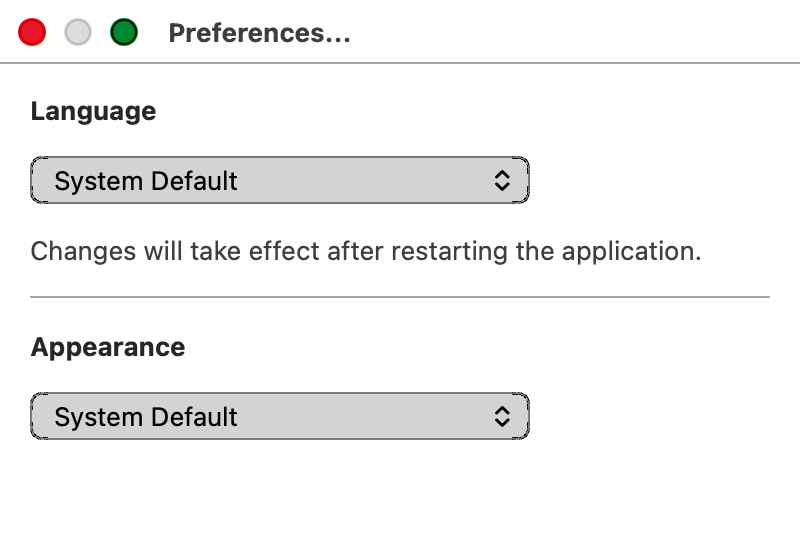
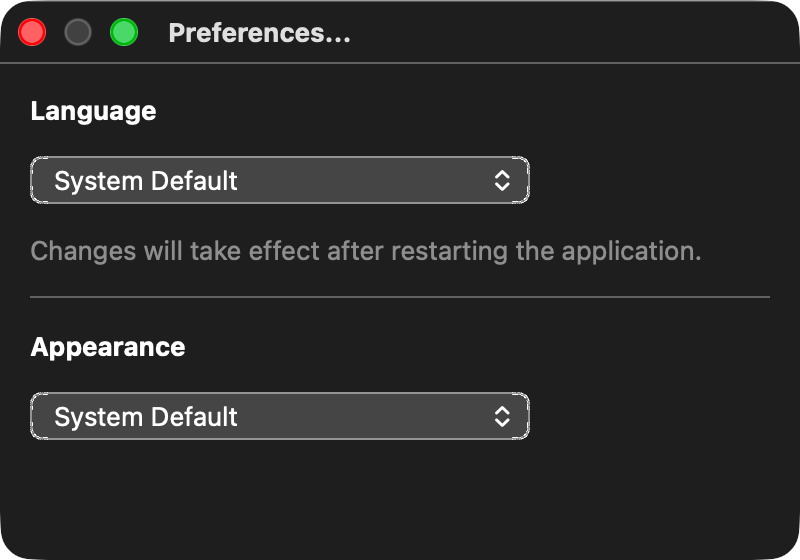
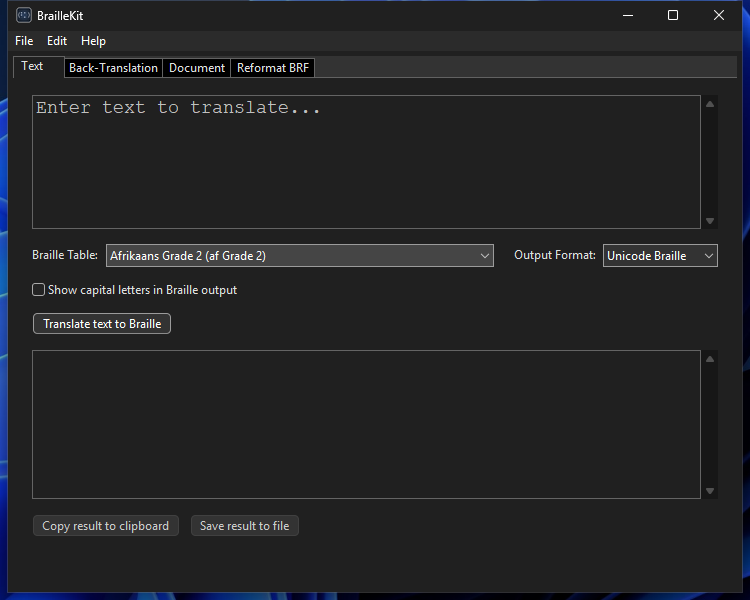
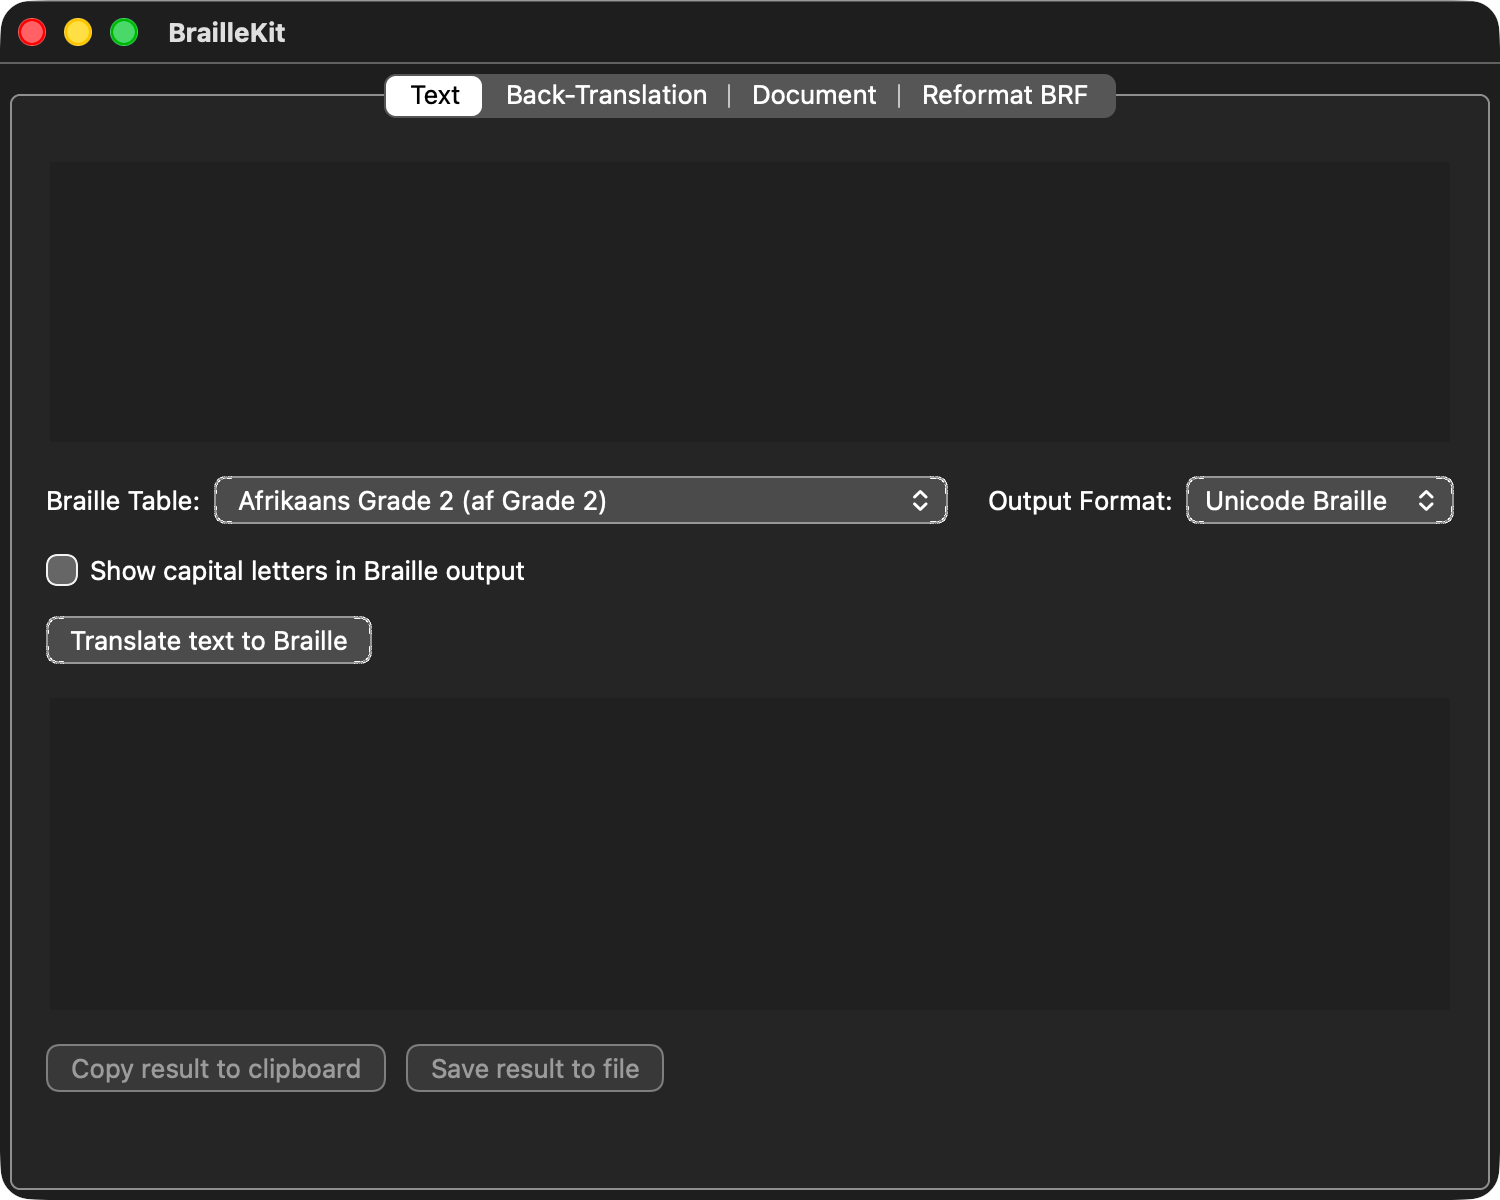
Dark mode
By default the app follows your operating system's theme. Override it via Preferences → Theme → System / Light / Dark.
Every tabbed screenshot on this page lets you switch between Windows
and macOS in either theme. On first load the tab matching your own
OS and prefers-color-scheme is selected automatically; you can
still click any other tab to compare. File an issue if any control
in either theme has poor contrast for you.
Next steps
- Using the command-line tool — same workflows from the terminal.
- Output formats — what each format is for.